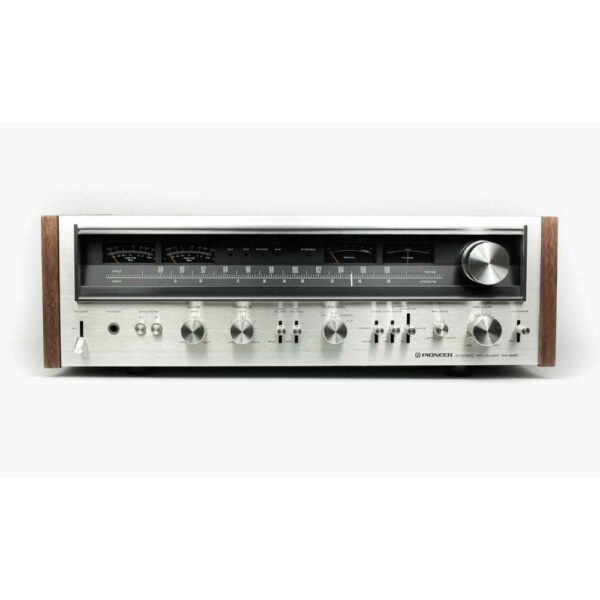
Revitalization of Vintage Housing
Renovating a Wooden Case for Vintage Receivers – A Guide for Audio Enthusiasts
Renovating a wooden casing for vintage receivers is not only a way to restore their former glory, but also to increase the collector’s value of the device. A properly performed renovation process allows you to refresh the appearance of the receiver, while protecting the wood from further damage.
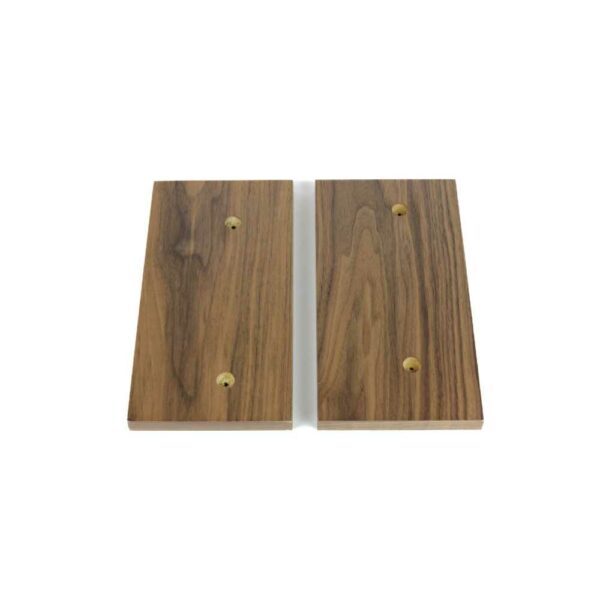
Before starting work, it is worth thoroughly assessing the condition of the casing. Scratches, paint chips or discoloration are common problems that can be dealt with relatively easily. The key step is to clean the surface – using delicate sandpaper with a 180-240 grit allows you to remove minor defects and prepare the wood for further processing.
When renovating a wooden casing for vintage receivers, special attention should be paid to choosing the right products. Wood wax or clear varnish give the surface an elegant shine, while protecting it from moisture and dirt. When renovating more damaged pieces, it is worth considering staining, which evens out the color of the wood and masks larger damage.
Renovating wooden vintage receiver casings is a process that requires patience, but it brings spectacular results. After the work is completed, the restored receiver not only looks great, but also emphasizes the retro style in the room.
Renovating wooden vintage receiver casings is becoming increasingly popular among lovers of classic audio equipment. If you are looking for inspiration or practical advice, remember that each casing has its own history, which is worth preserving and cherishing. Thanks to proper renovation, the receiver gains new life, becoming a true decoration of the collection.