Renovating a Wooden Vintage Audio Equipment Case – A Step-by-Step Guide
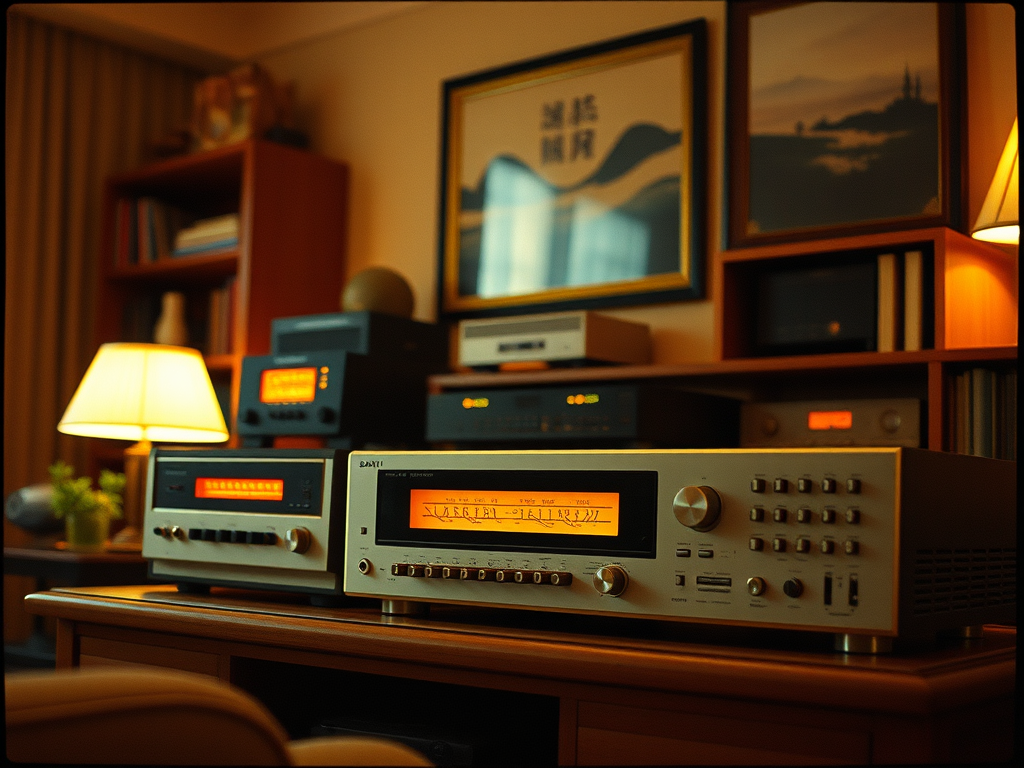
Vintage audio equipment is becoming increasingly popular among music and design enthusiasts. The unique sound and aesthetics of old devices are causing more and more people to decide to buy and renovate them. One of the key elements that need to be restored is the wooden casing. In this article, you will learn how to renovate the wooden casing of vintage audio equipment step by step to restore its former glory.
Why is it worth renovating wooden casings?
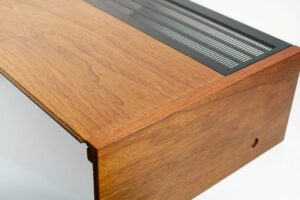
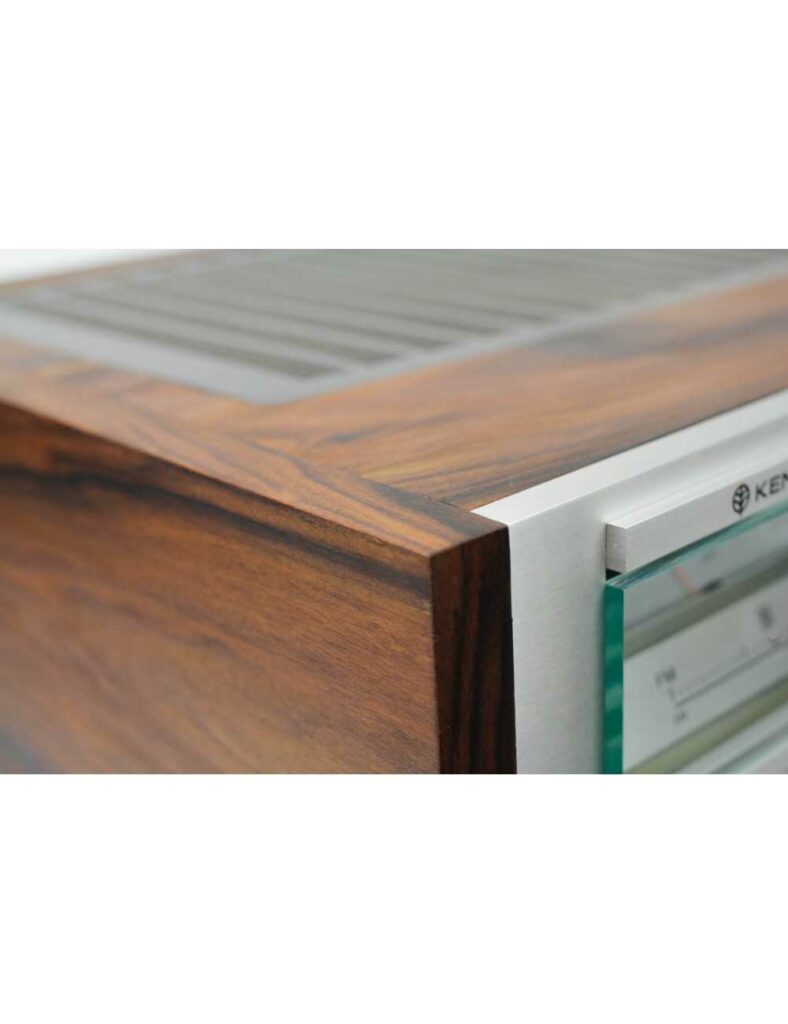
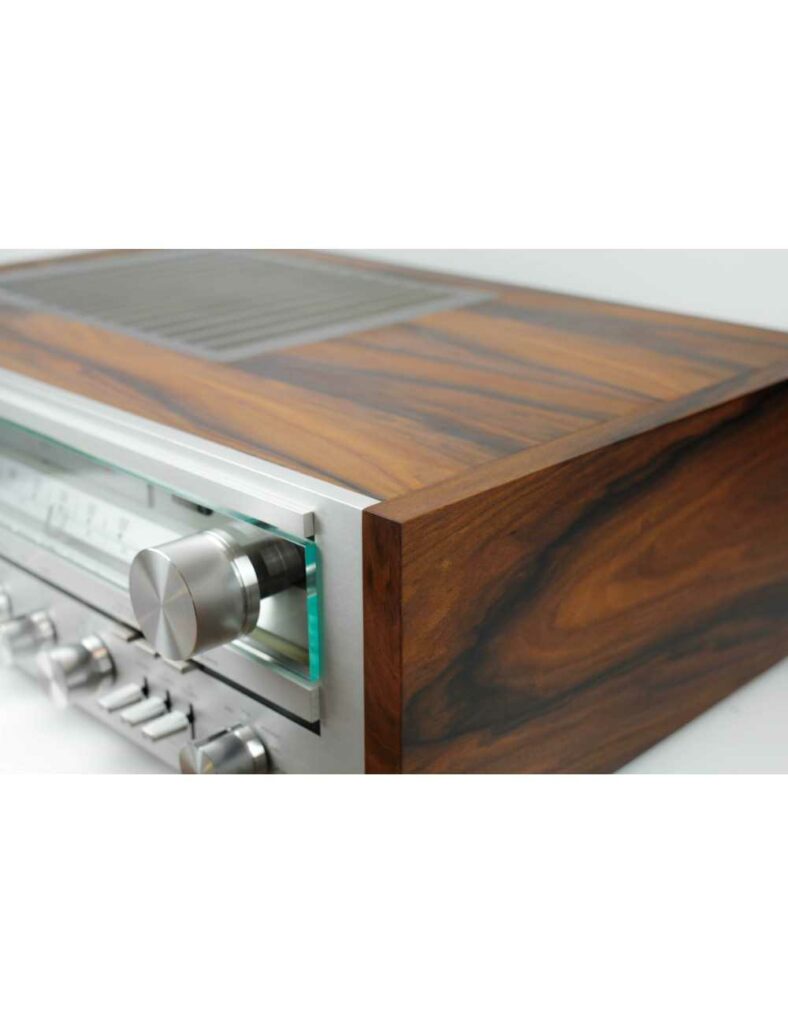
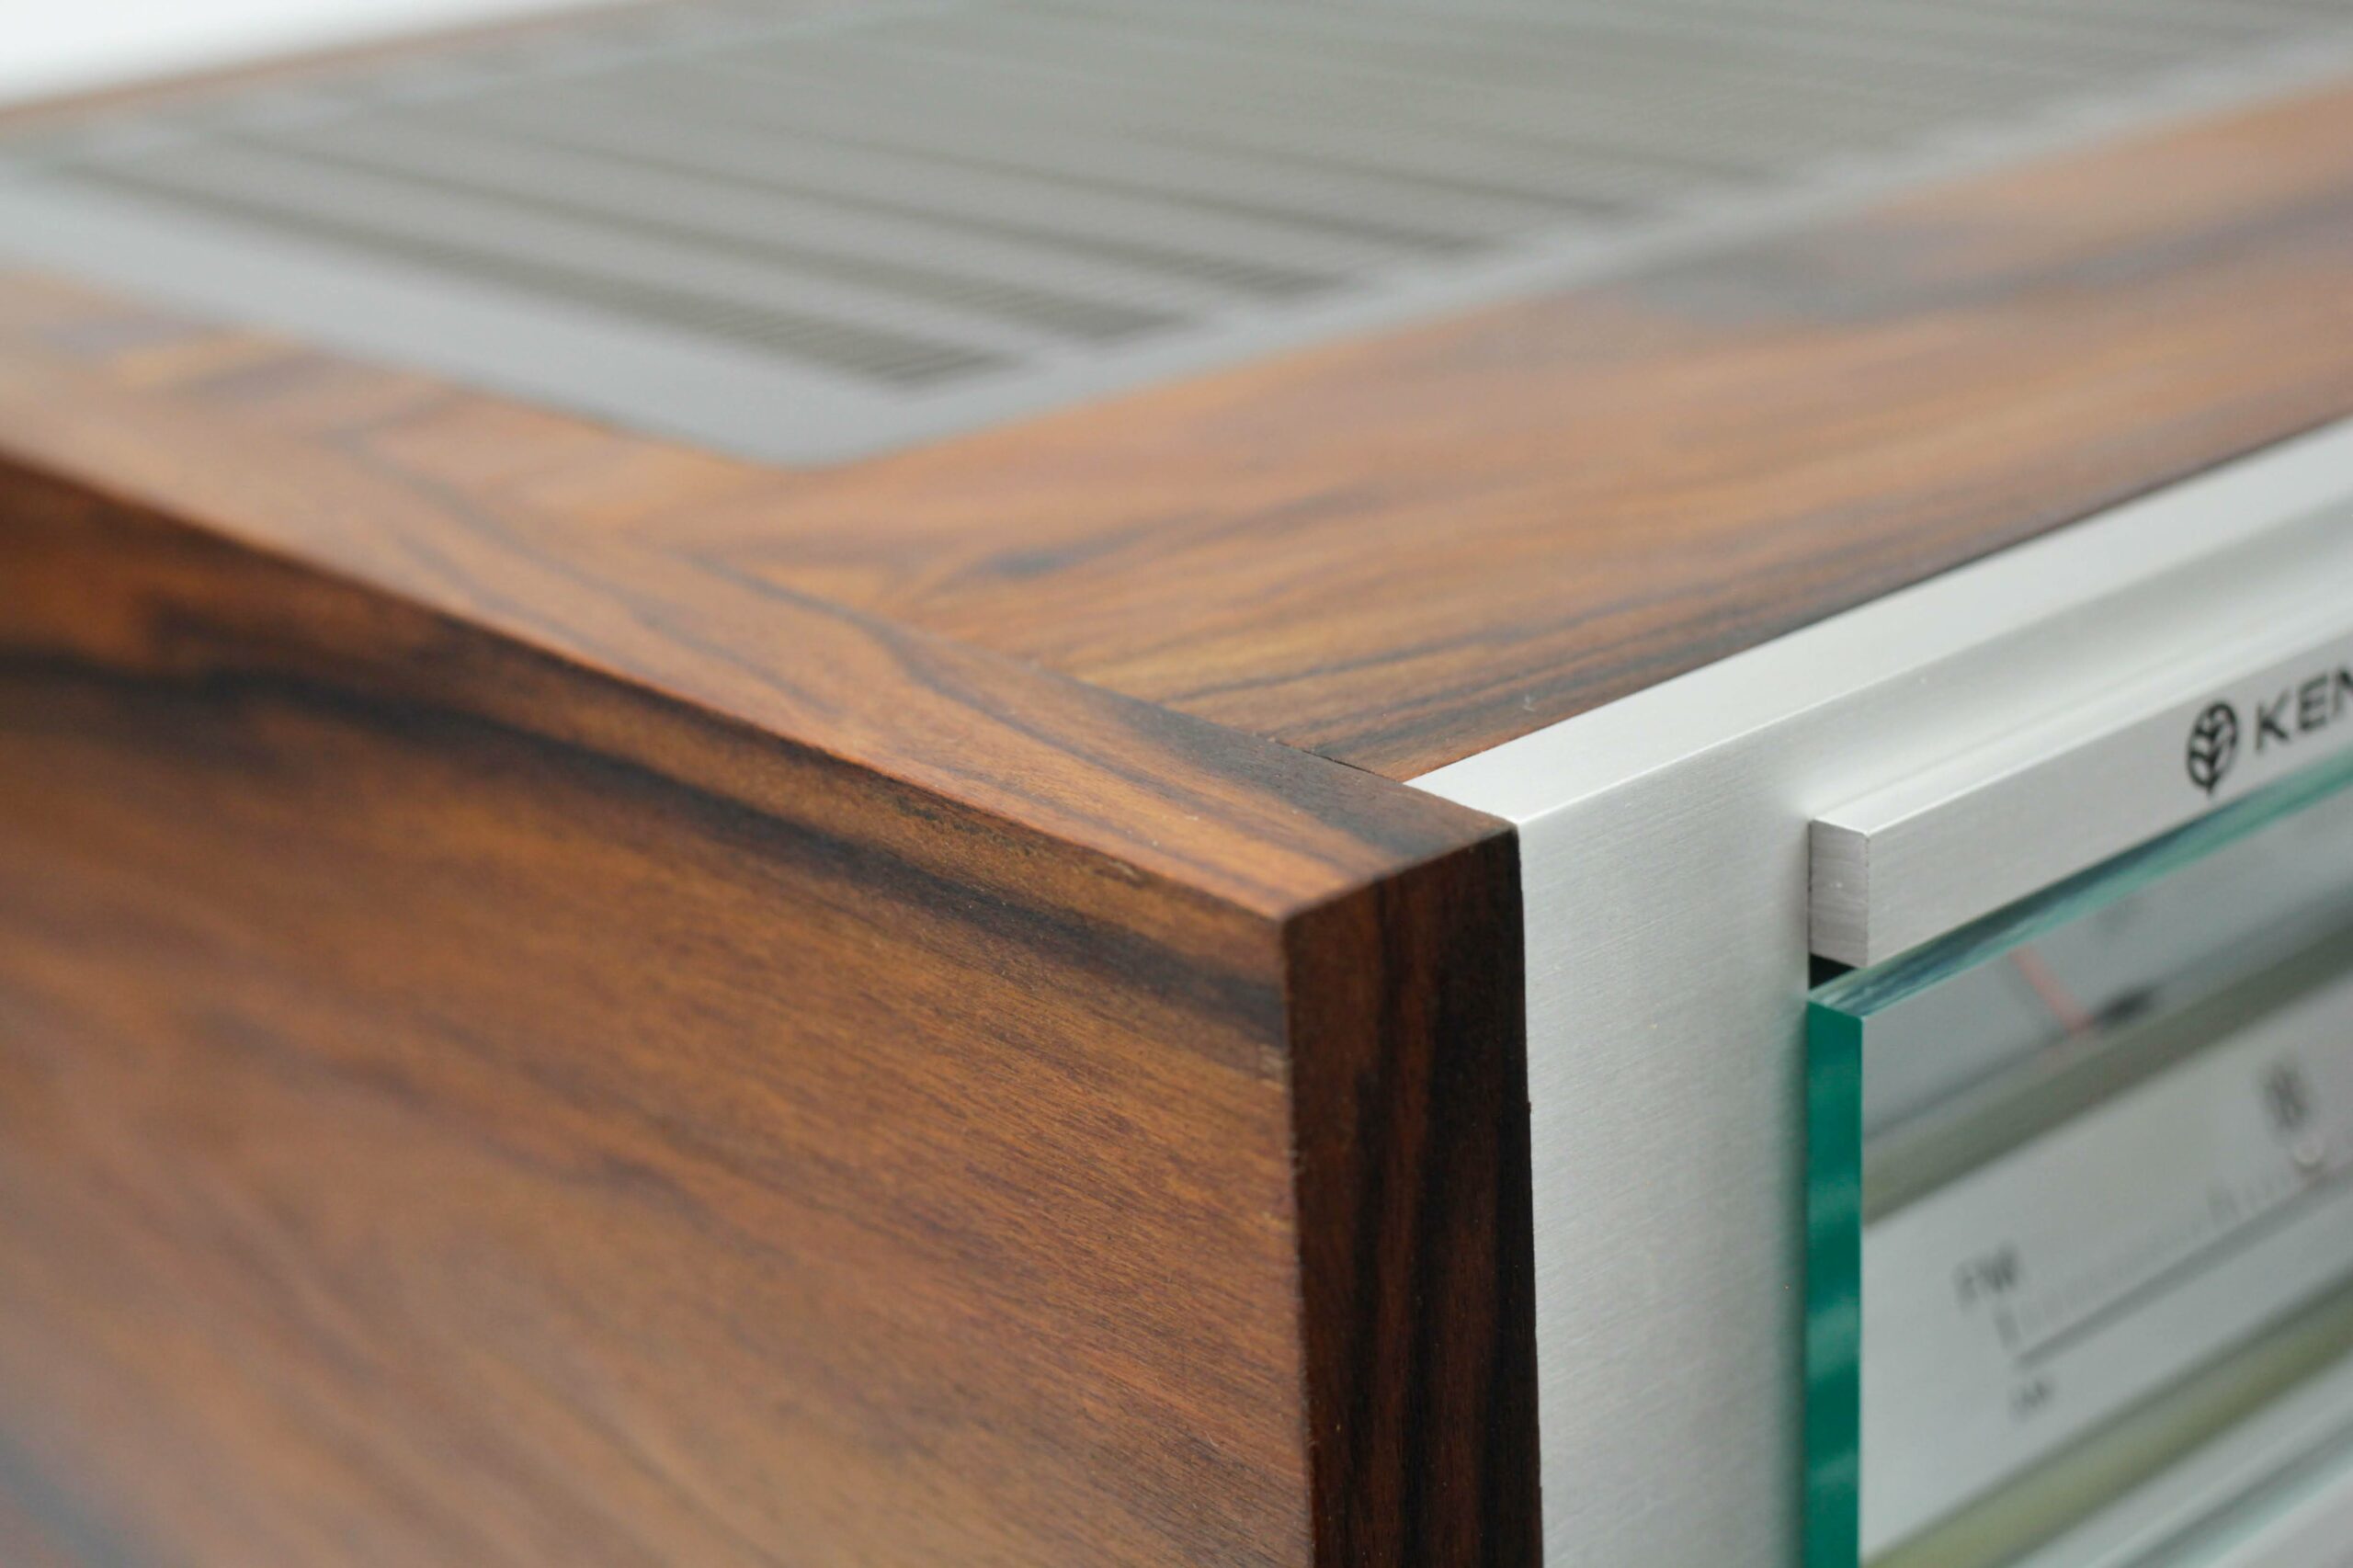
Wooden casings of vintage audio equipment not only serve a protective function, but also constitute an important aesthetic element. Unfortunately, over the years, they can become damaged, such as:
- scratches,
- chipped paint,
- discoloration from sunlight,
- mechanical damage.
Renovating the wooden casing allows you to preserve the original character of the equipment and increase its market value.
Tools and materials needed for renovation
Before you begin work, prepare the following tools and materials:
- sandpaper of different grits (e.g. 120, 240, 400),
- orbital sander (optional),
- old paint remover,
- microfiber cloths,
- wood stain,
- protective varnish or wood oil,
- paint brushes and rollers,
- painter’s tape.
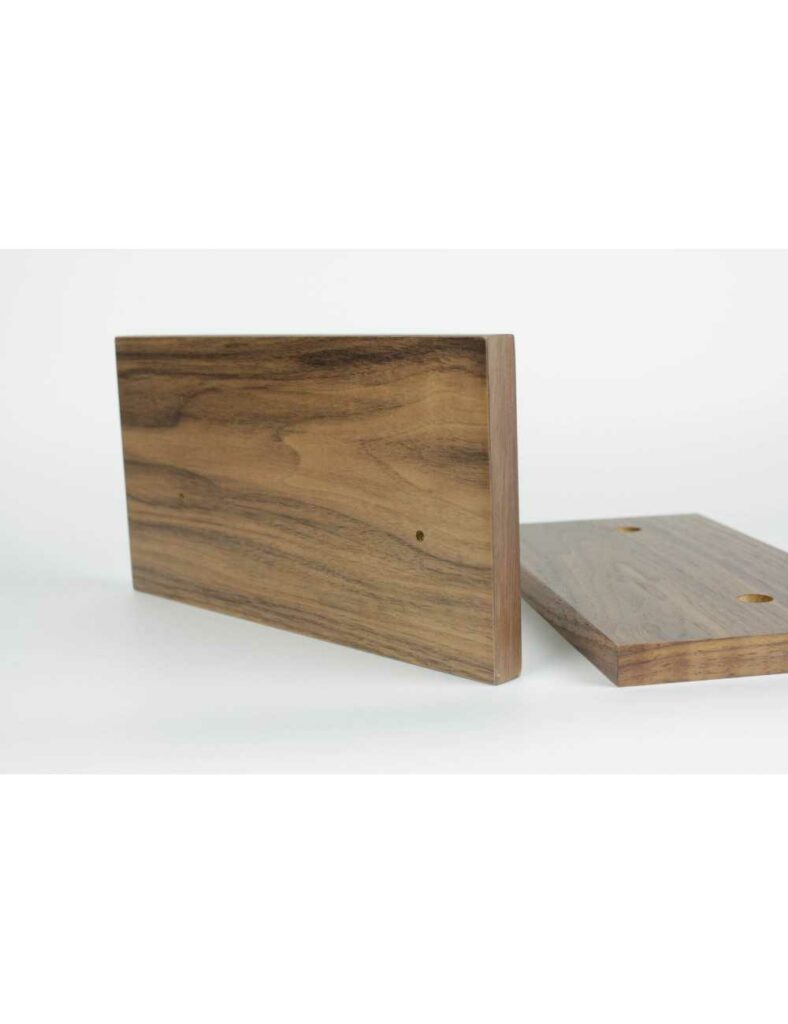
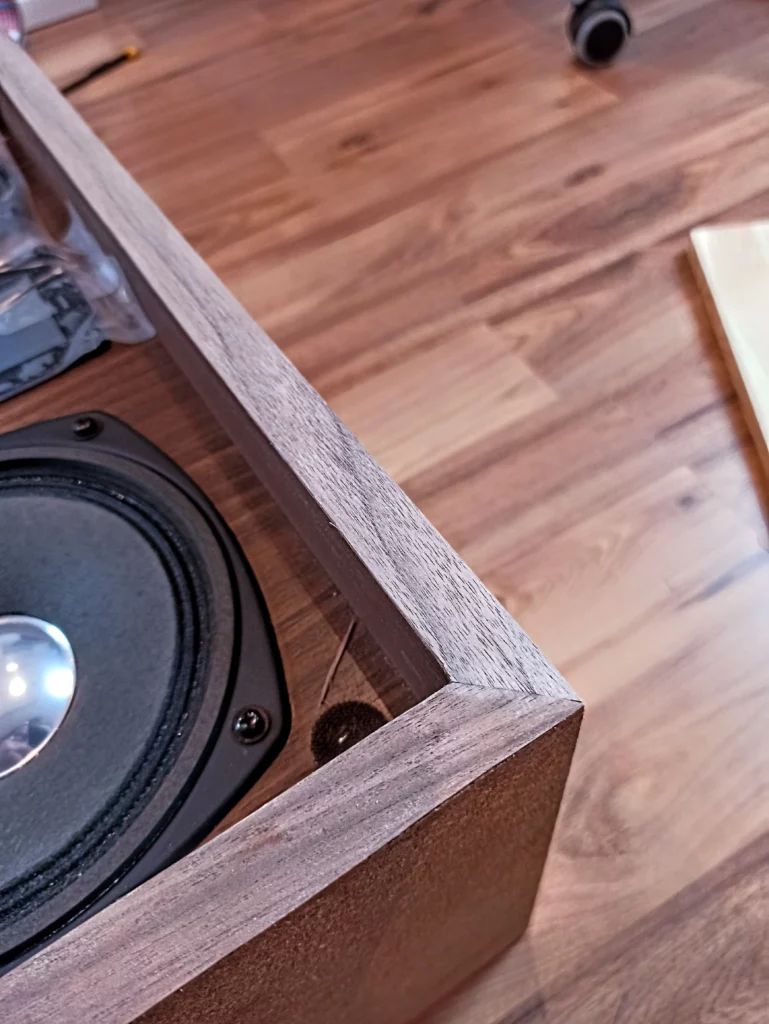
Step 1: Surface preparation
The first step in renovation is to thoroughly clean the casing. Remove dust, dirt and remnants of old paint. You can use specialist coating removers or low-grit sandpaper (e.g. 120).
Tip: If the case has hard-to-reach areas, use small tools such as files or small abrasive sponges.
Step 2: Sanding
Sanding the wood surface removes minor scratches and prepares it for new coatings. Start with a lower grit and gradually move up to a higher grit. Be sure to sand with the grain of the wood to avoid damaging the surface.
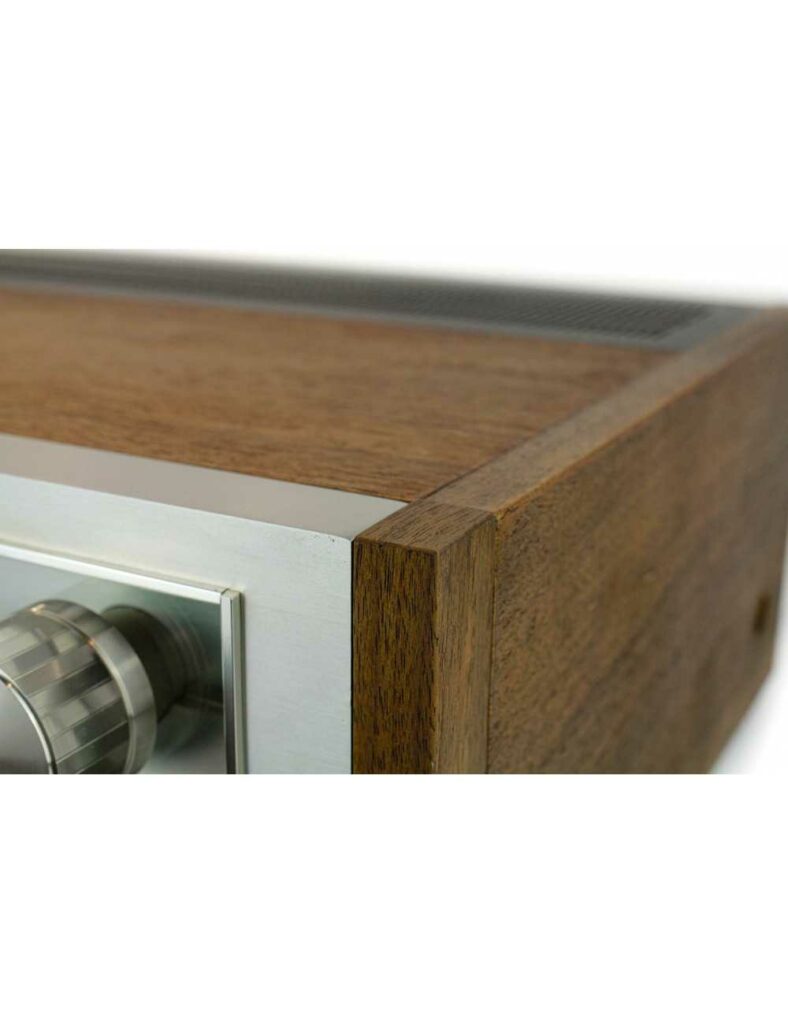
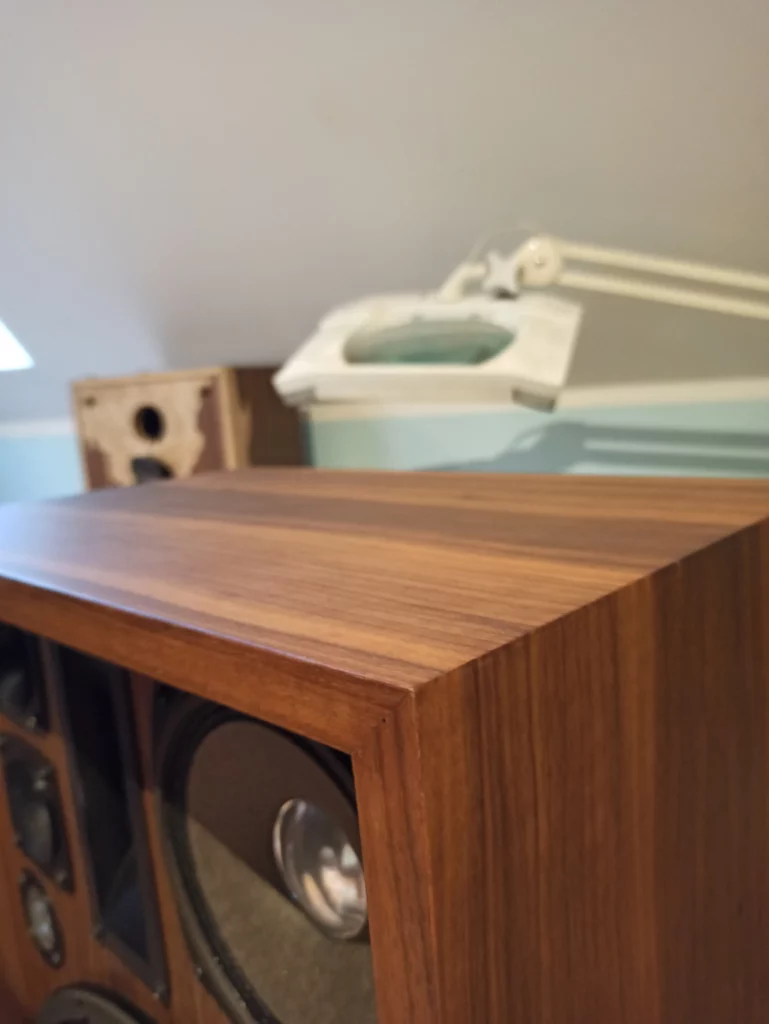
Step 3: Staining
After sanding, clean the surface from dust with a damp cloth. Then apply a stain that will give the wood depth of color and emphasize its natural grain. Use a brush or sponge and work evenly over the entire surface. Leave to dry according to the manufacturer’s instructions.
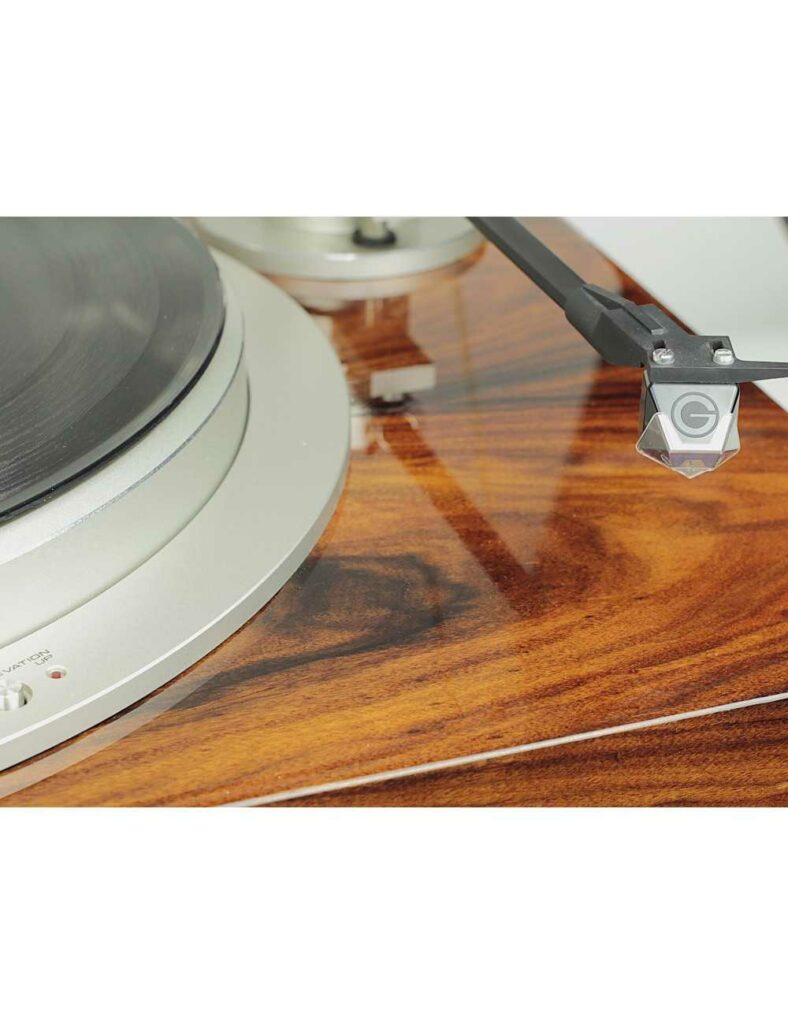
Step 4: Varnishing or oiling
Apply a layer of protective varnish or wood oil to the dried stain. The varnish adds shine and protects the surface from damage, while the oil highlights the natural appearance of the wood. Choose the method that best suits your equipment.
Tip: Apply at least two coats of varnish or oil, allowing adequate drying time between applications.
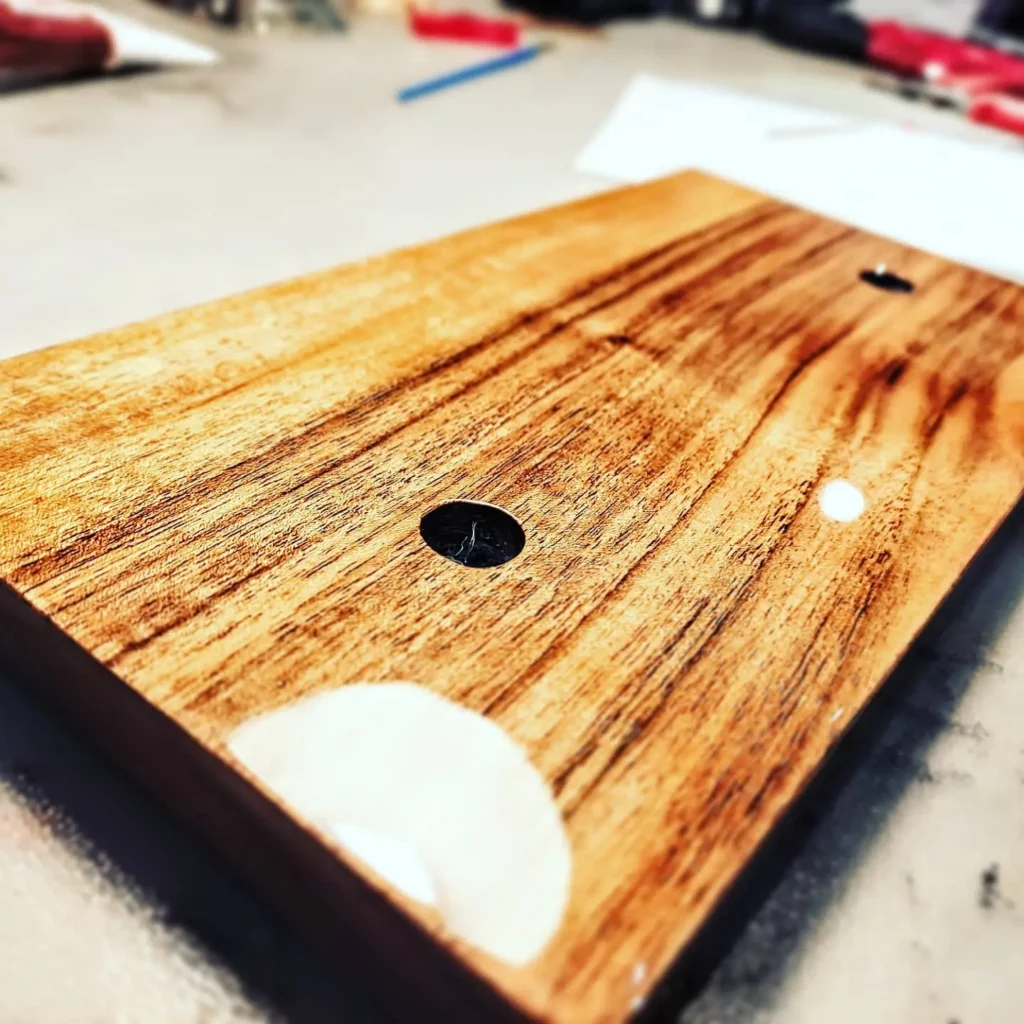
Step 5: Final Finish
After the last coat of varnish or oil has dried, lightly sand the surface with high-grade sandpaper (e.g. 400–600) and clean any remaining dust. Polishing will ensure smoothness and a perfect appearance of the case.
Summary
Renovating the wooden casing of vintage audio equipment is a process that requires patience and precision, but the results are worth it. Restoring the former glory of devices not only emphasizes their aesthetic value, but also makes them a real interior decoration. Remember that carefully performed renovation allows you to enjoy the equipment for many years to come.
If you are looking for professional restoration services or need additional guidance, please contact us! We are experts in restoring vintage audio equipment and would be happy to help you with your project.
Our work can be seen at this link: Pioneer SX 950 amplifier service
The quote is prepared individually, the scope of work will be provided by email.
Once the offer is accepted, we proceed to execution within the agreed deadline.


amplituner sansui amplituner vintage housing service pioneer sx 950 renowacja pioneer sx 950 revitalization of the housing sansui sansui 9090db sansui serwis service vintage serwis amplitunera vintage serwis audio serwis audio vintage SERWIS I RENOWACJA AMPLITUNERA VINTAGE PIONEER SX 950 stereo sx950 vintage audio vintage service